.jpg)
Spray soapy water to find the leak, clean the area with rubbing alcohol, cut a piece of Gorilla Waterproofing Tape larger than the hole, press firmly for 2 minutes, and let it cure for 24 hours. That's it. Read on for the full walkthrough, air mattress-specific tips, and product recommendations for your DIY repair.
A slow leak in your air mattress the night before guests arrive. A pool float that deflates halfway through a summer afternoon. A kiddie pool that sags on one side before the kids even get in. Sound familiar? The good news: most inflatable items — made from vinyl, PVC, or similar materials — can be repaired quickly with the right approach and the right products.
This guide walks you through how to find, fix, and seal holes in virtually any inflatable item, from air mattresses and pool floats to inflatable toys and kiddie pools.
We do not recommend repairing any life-saving devices with our tapes.
How To Find The Leak
Before you can fix the hole, you need to find it. Fully inflate the item, close the valve, and try one of these methods:
- Soapy water test (recommended):
Mix dish soap and water in a spray bottle. Spray sections of the inflatable one at a time, press gently, and watch for small bubbles. Bubbles mean air is escaping from that spot.
- Submersion test:
For smaller items like pool floats or beach toys, submerge the inflated item in a bathtub or basin and look for a stream of tiny air bubbles rising from the leak. - Listen and feel:
In a quiet room, move your hand slowly over the surface. You may hear a faint hiss or feel a light stream of air on your skin.
Once you spot the leak, mark it right away with a permanent marker. It's easy to lose track of a small hole after you deflate the item for repair.
What You Need
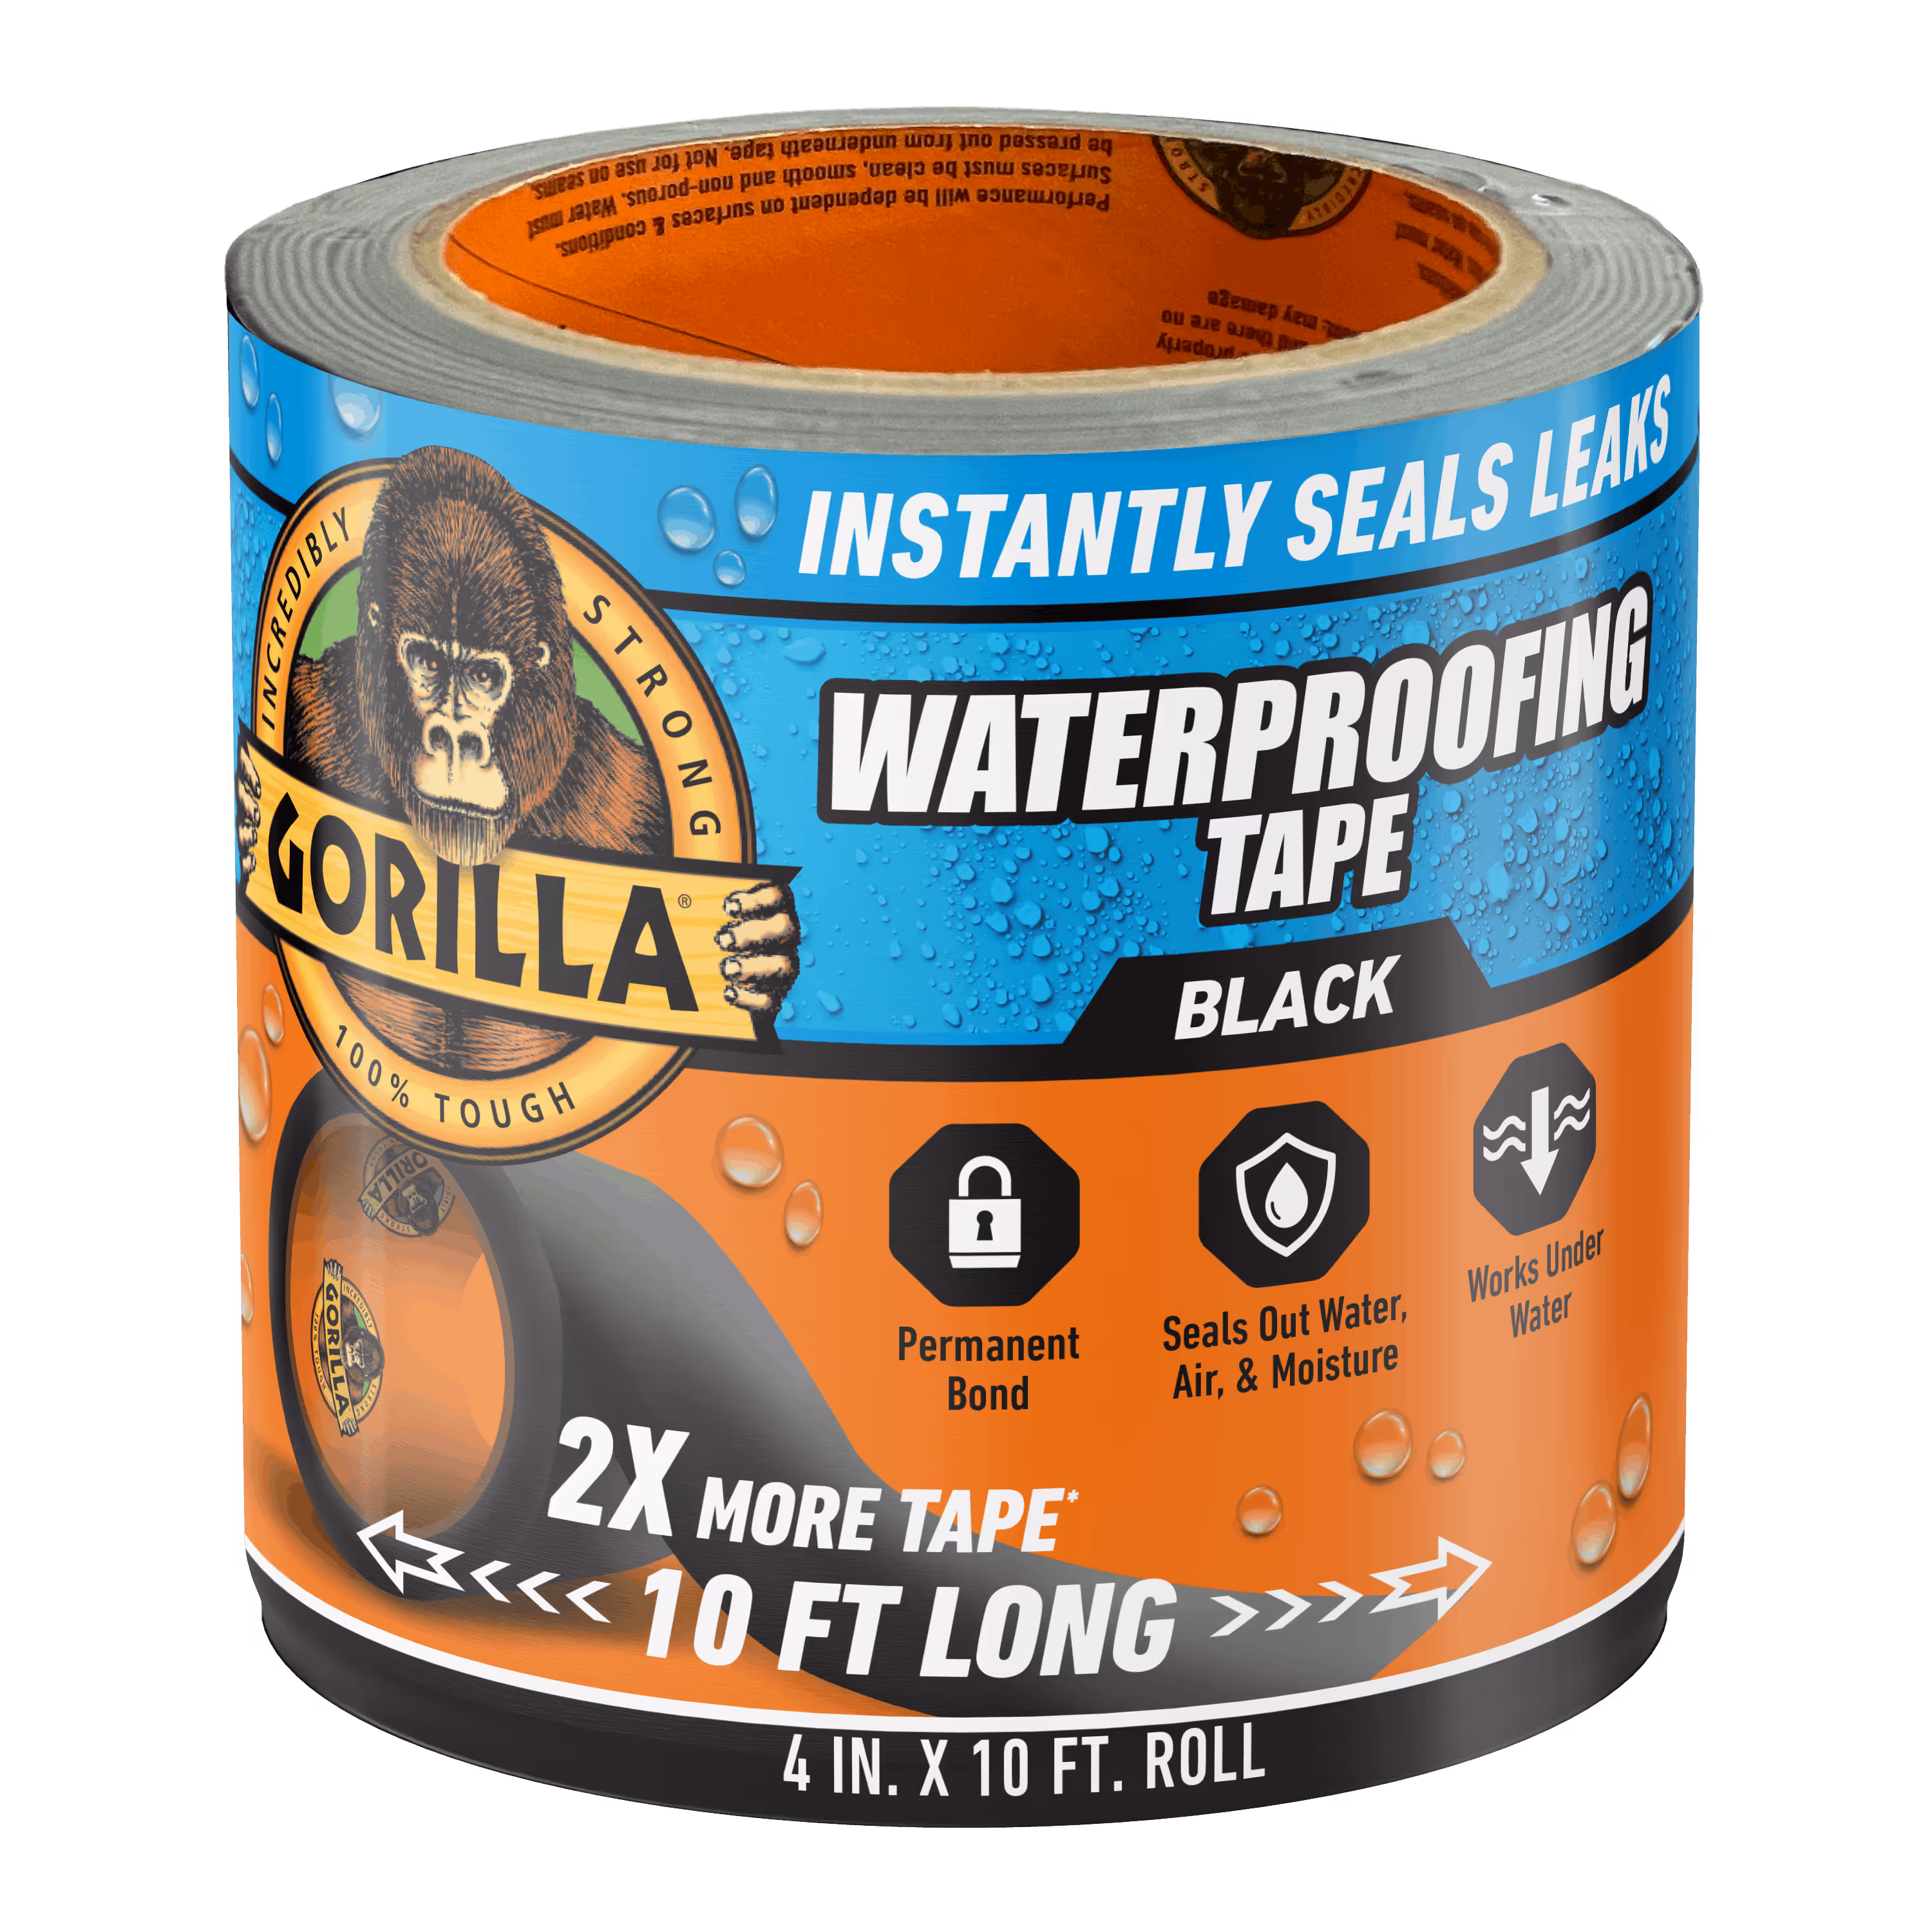
- Gorilla Waterproofing Tape (comes in: clear, black, & white)
- Marker (optional)
- Dish soap (optional)
- Rubbing alcohol (optional)
Gorilla Waterproofing Tape
How to patch pool inflatable holes: Step-By-Step Directions
- Clean and Prep the Area
Dry the area around the leak thoroughly. Wipe it down with rubbing alcohol to remove any dirt, oil, or residue, then let it dry completely. If the surface has a fuzzy texture, like the top of many air mattresses, lightly sand it to expose the smooth vinyl underneath. - Cut the Tape to Size
With the liner still on, cut a piece of Gorilla Waterproofing Tape larger than the hole. The tape should extend well beyond the edges of the damage on all sides. Round the corners of the patch to reduce the chance of the edges lifting over time.
.webp)
- Apply the Patch
Remove the release liner and place the tape directly over the hole. Rub the entire surface firmly, working from the center outward to press out any air or water underneath. Hold the patch in place for at least 2 minutes to ensure strong adhesion.
.webp)
- Cure and Test
If possible, place weight on the patched area and let it cure for 24 hours. After curing, re-inflate the item and retest with soapy water. If no bubbles appear, your repair is complete and ready for use.
.webp)
For the strongest bond, apply the patch while the item is still partially inflated. Patching a completely flat surface can create wrinkles under the tape that weaken the seal.
How to patch A Hole in an Air Mattress: Step-by-Step Directions
Know Your Surfaces
Smooth Vinyl Bottom: The most common leak location. This surface is ideal for patching because Gorilla Waterproof Patch and Seal Tape bonds directly to smooth, non-porous vinyl with no prep beyond cleaning.
Sidewalls and Seams: Curved sidewalls and welded seams are the trickiest spots. Flat tape may not conform well to tight curves or textured seam ridges. Patch and Seal Tape is not recommended for seam repairs.
Repairing the Smooth bottom
Bottom-side repairs are the most straightforward. The smooth vinyl provides an ideal bonding surface.
.webp)
- Clean the area around the hole with rubbing alcohol and let it dry.
- Cut your tape with rounded corners, sized to extend well past the hole on all sides. Remove the liner, apply, and rub aggressively from center to edges.
- Hold for 2 minutes, then flip the mattress over so the patch is face-down. The weight of the mattress itself will help cure the bond. Wait 24 hours before use.
After the Repair
Once the patch has cured for 24 hours, inflate the mattress to full pressure and test again with soapy water. If no bubbles appear, the fix is holding. A few additional tips for keeping your repaired mattress in good shape:
- Place a blanket, sheet, or mattress pad between the air mattress and the floor to protect the bottom from future punctures.
- Sweep or vacuum the floor beneath the mattress before setting it down each time. Small debris like staples, pins, or hair clips are common culprits.
- Avoid inflating to maximum pressure, especially in warm rooms. Heat causes the air inside to expand, which puts extra stress on seams and patched areas. Inflate to about 90% and top off if needed.
Ready to fix it? Find your Solution.
Clear
Black

White
Frequently Asked Questions
Yes. Most inflatable items made from vinyl or PVC can be repaired with Gorilla Waterproofing Tape. Gorilla Waterproofing Tape creates a permanent bond that seals out water, air, and moisture, and it can even be applied underwater.
Standard duct tape can work as a temporary fix, but it is not waterproof, and the adhesive breaks down over time when exposed to water, heat, and UV. For a lasting repair, use a product designed for waterproof sealing, like Gorilla Waterproofing Tape.
Yes. Gorilla Waterproofing Tape can be applied underwater. For underwater repairs, rub the area clean with a sponge or cloth to remove debris before applying the tape, and make sure water is pressed out from underneath for a strong seal.