Waterproofing
with Gorilla
Learn how Gorilla Waterproofing products stop leaks by sealing out water, air, and moisture for long-lasting protection. We’ll help you choose the right solution based on your surface, repair type, and environment. You’ll also find clear comparisons, real use cases, and step-by-step guidance, and pro tips to fix leaks with confidence.

Learn how Gorilla Waterproofing products stop leaks by sealing out water, air, and moisture for long-lasting protection. We’ll help you choose the right solution based on your surface, repair type, and environment. You’ll also find clear comparisons, real use cases, and step-by-step guidance, and pro tips to fix leaks with confidence.
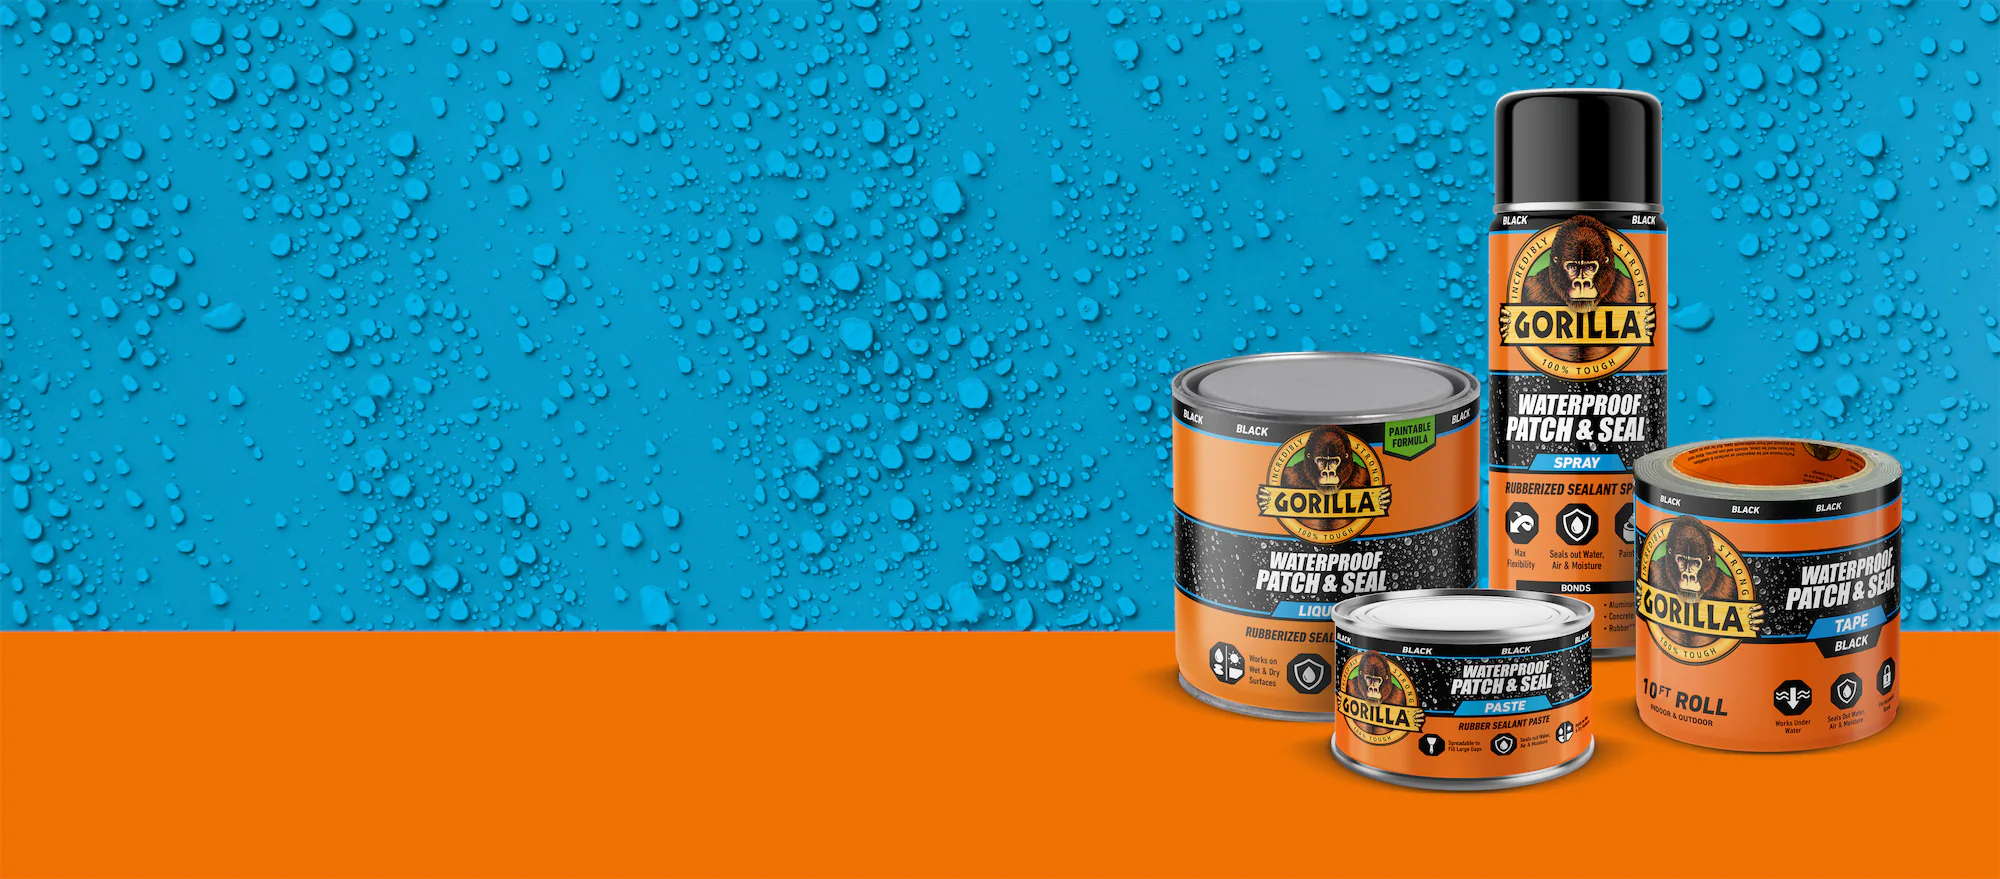
Waterproofing solutions to meet your needs
Choose from four powerful waterproofing solutions, each designed to take the stress out of leaks.
Pick the right one for your job:
.avif)
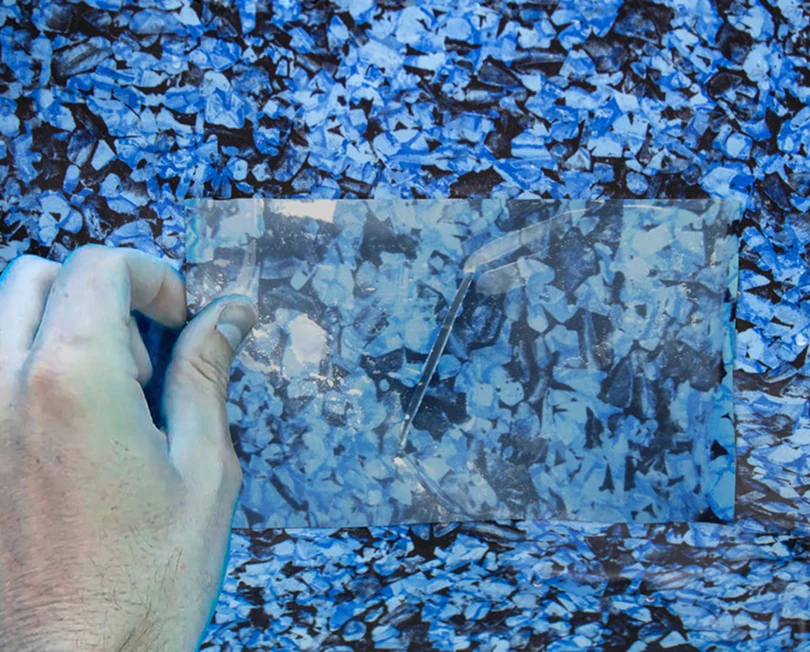
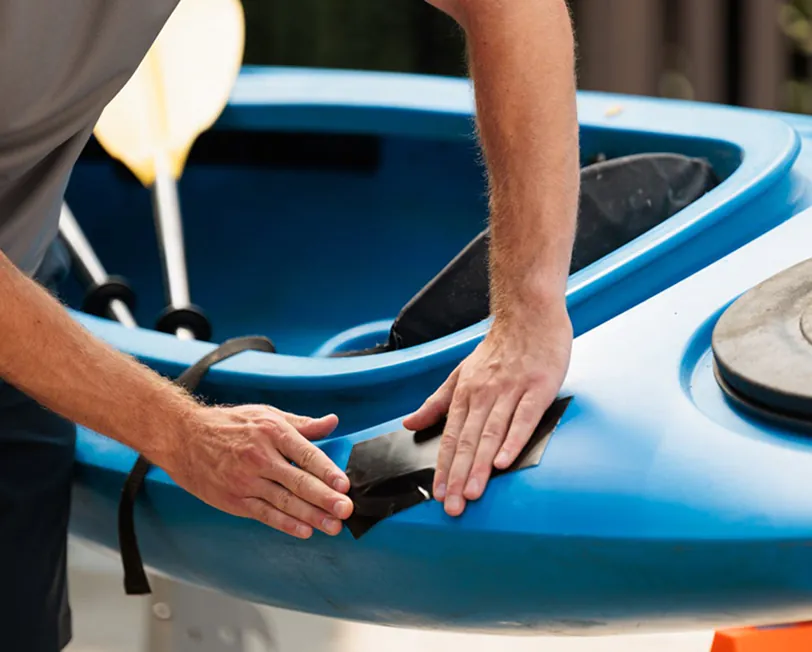
Tape
Instant seal, even underwater (great for rough and uneven surfaces)
%201%20(1).avif)
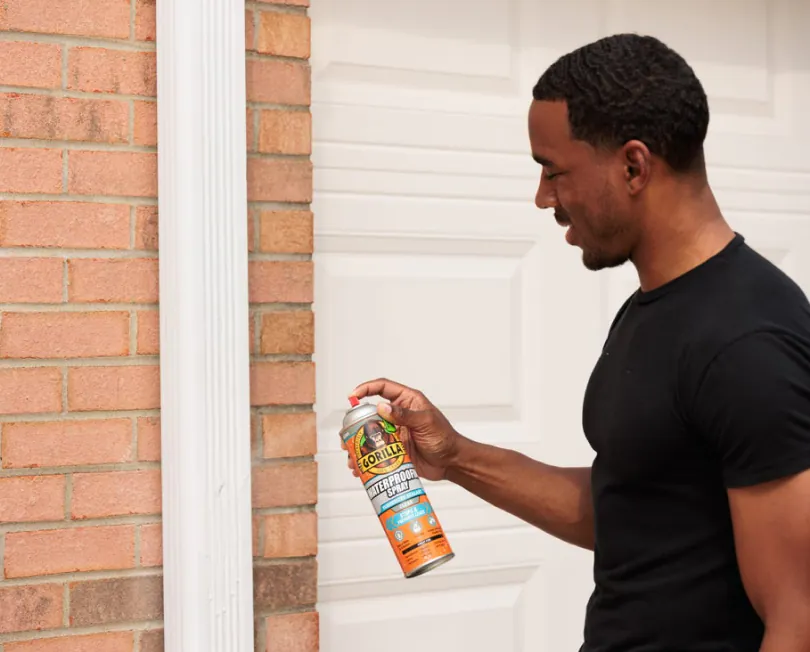
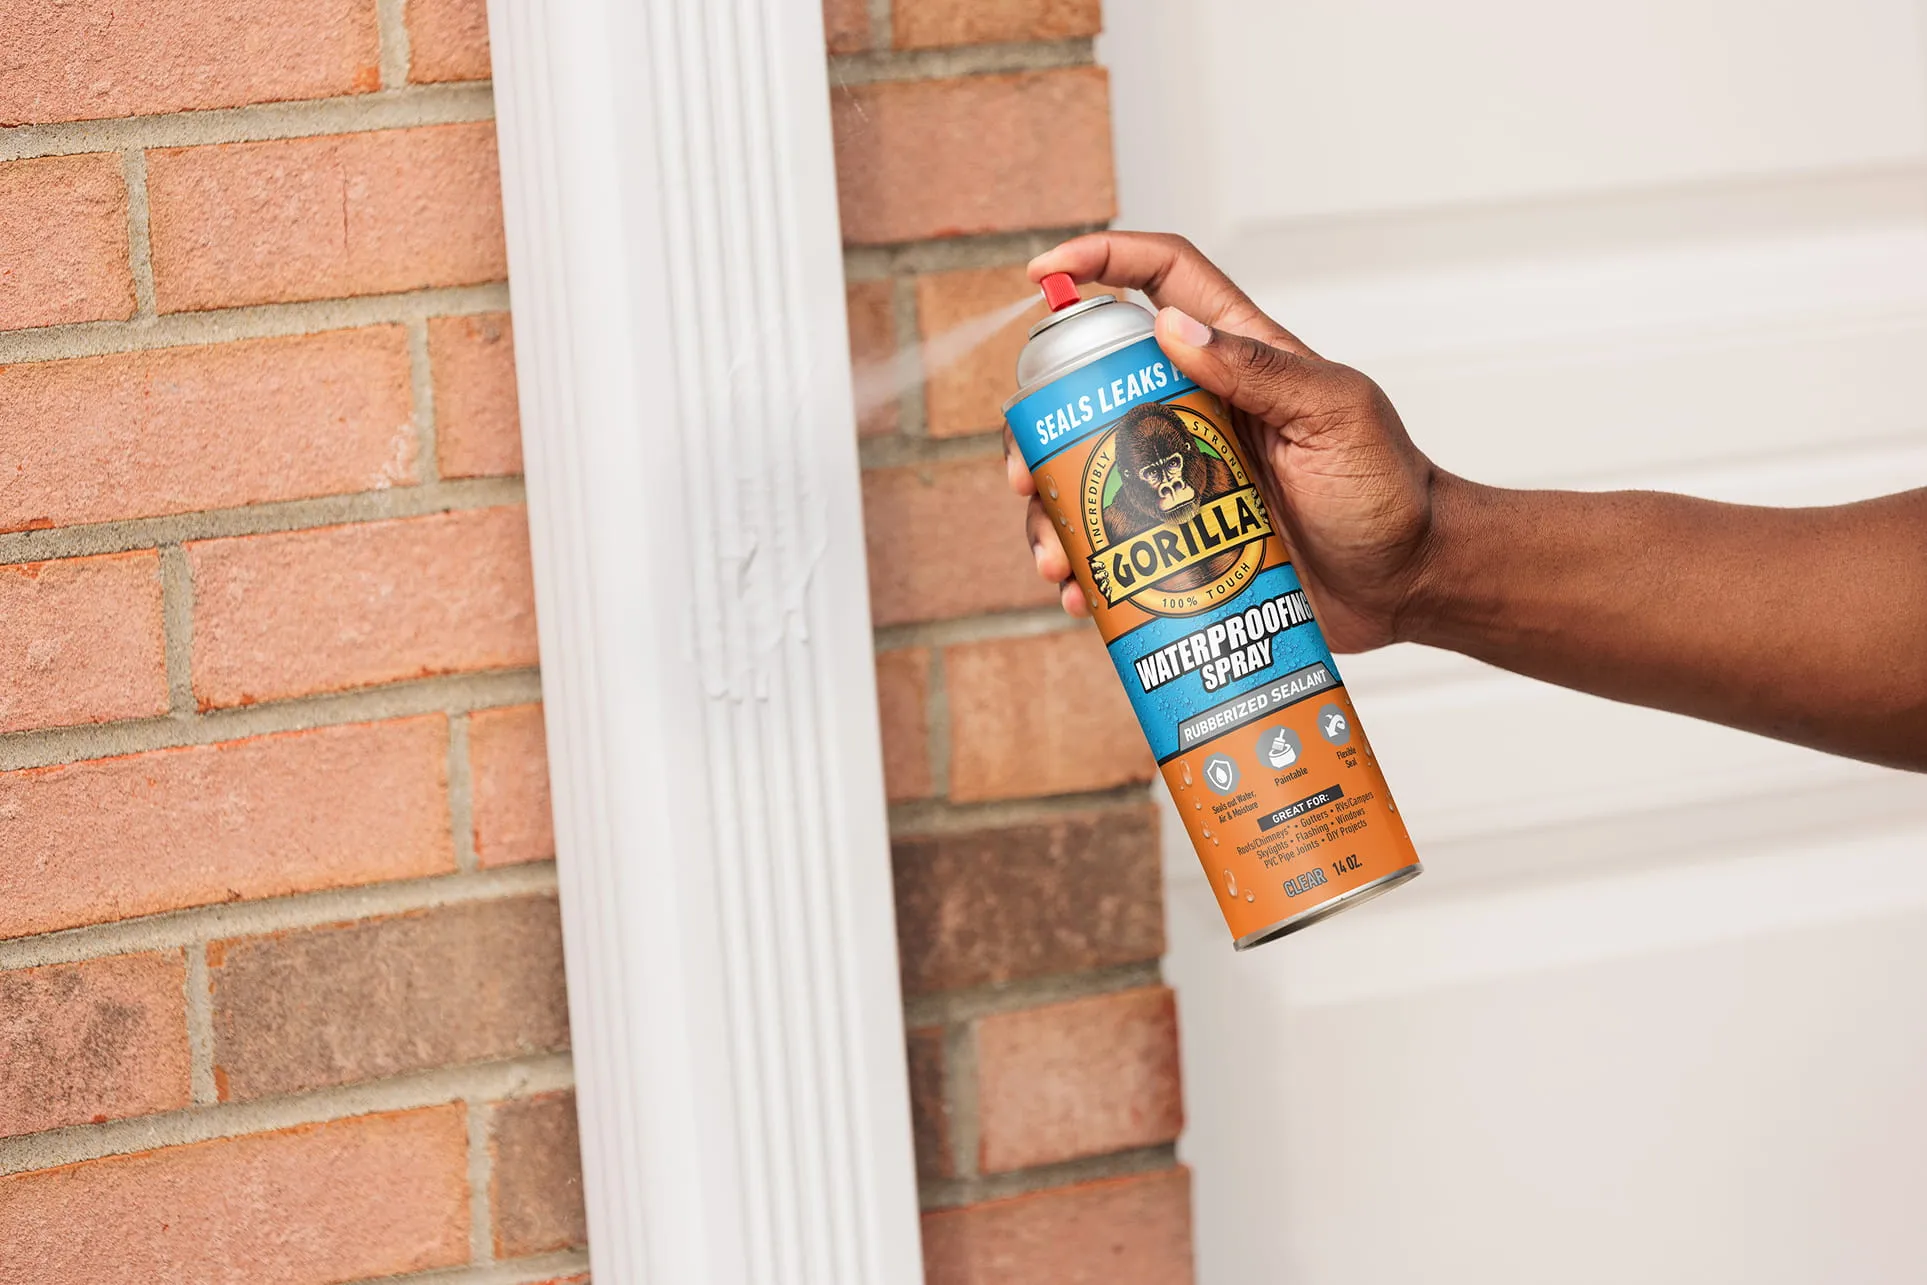
Spray
Wide spray pattern for
more coverage in one pass
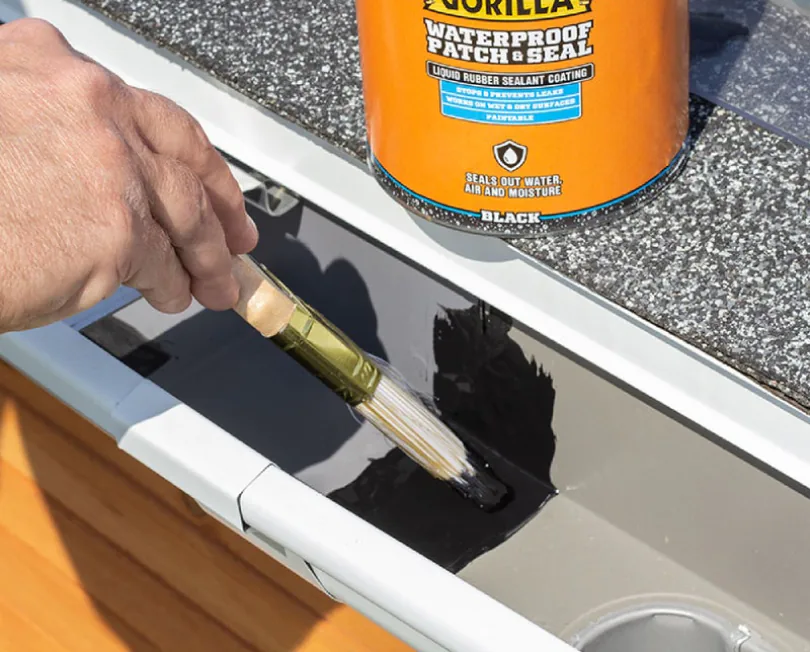
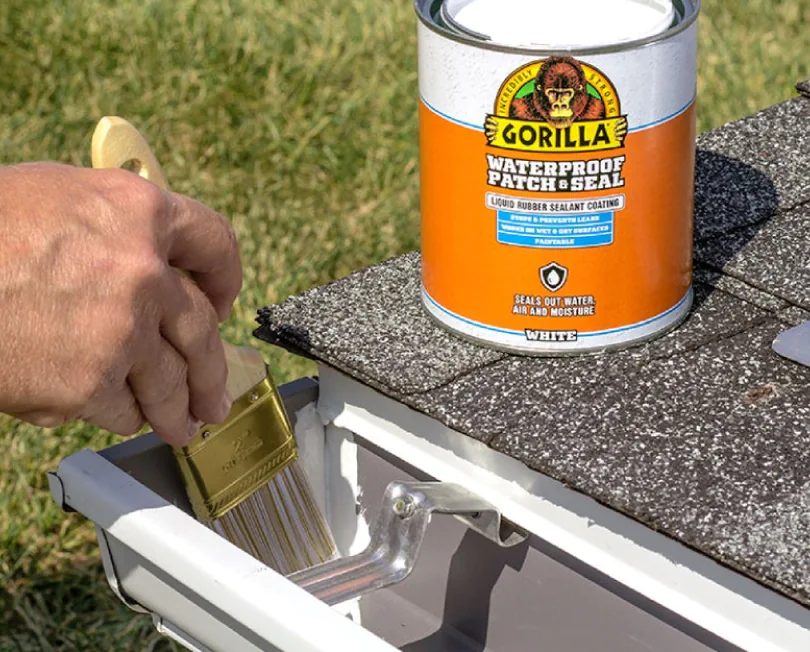
Liquid
For larger surfaces
Paste
Gap- and crack-filling seal for uneven and vertical surfaces
Why Waterproof with Gorilla?
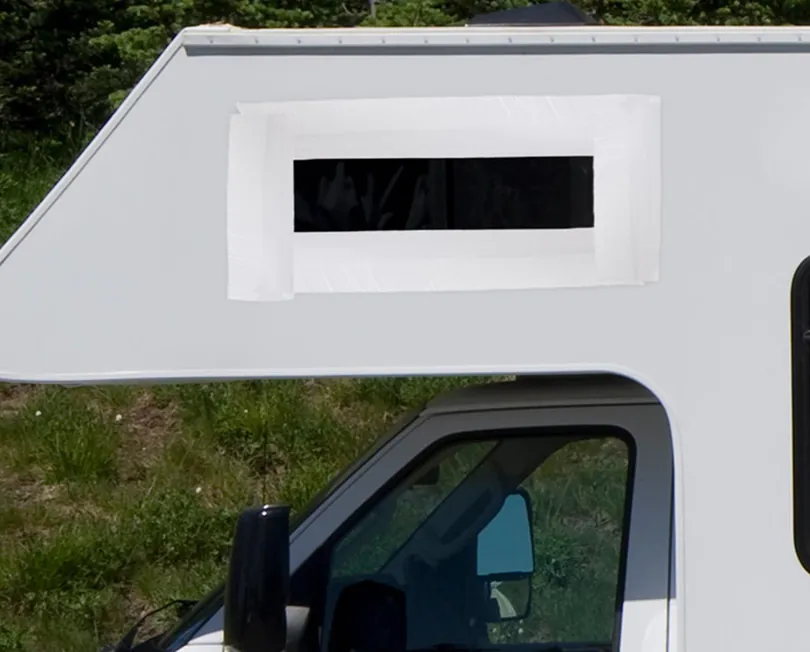
Leaks can be scary, but with Gorilla Waterproofing products, fixing them doesn’t have to be. Whether you're fixing a gutter, patching a pool liner, or repairing a damaged window, you can trust Gorilla Waterproofing has a solution for you.

Works on Plastic*, Metal/Aluminum, Rubber*, Concrete, Wood, Vinyl, Glass, Steel, Acrylic, Brick, and more.
*May not work for all types of plastics and rubbers
**Exposure to UV may cause Clear Products to yellow/discolor

How To use gorilla Waterproofing products
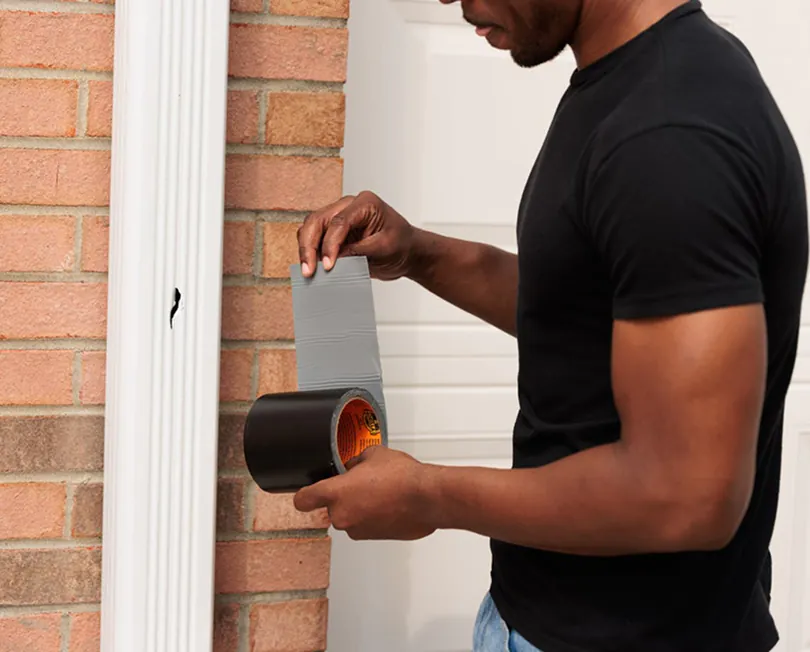
Gorilla Waterproof Patch & Seal Tape
Directions
- Keeping liner on tape, cut tape to desired size. Tape size should be larger than the repair area, extending beyond all edges. Overlapping tape may cause leaks. Round the corners of the patch to provide less chance of tape lifting at corners. When possible, apply tape to both sides of the repair
- Remove the release liner and place tape over desired repair area. Tape cannot be repositioned once applied.
- Rub entire surface of the tape aggressively, especially the edges. Smooth the patch from the center to outer edges.
- Hold the patch in place for 2 minutes to ensure good adhesion. If possible, apply weight to the patch for 24 hours.
Pro Tips
Storage:
Store tape on the top and bottom disc at room temperature. Edges of tape may be sticky.
Service Temp:
-70°F to 200°F
Gorilla Waterproof Patch & Seal Spray

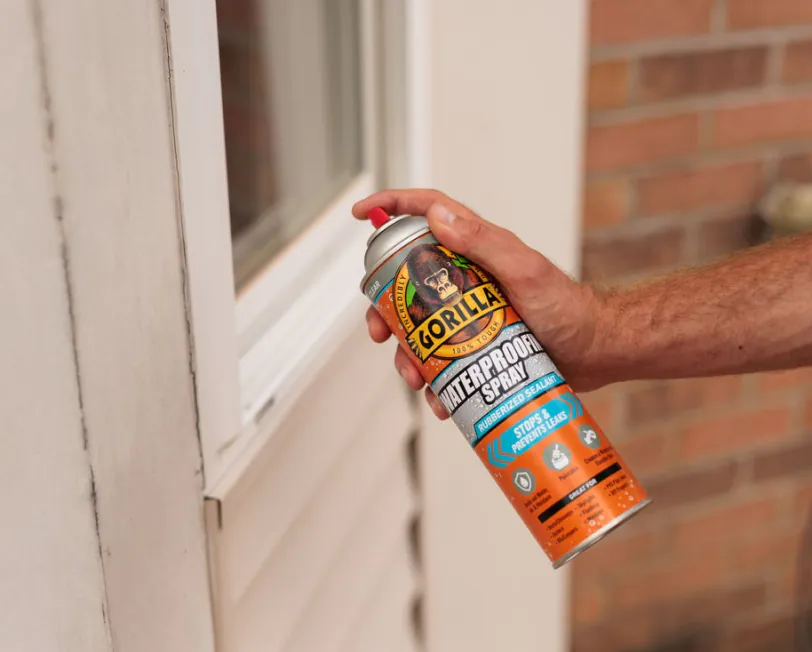
*Not recommended for continuous water submersion
Directions
- Clean surface of dirt, dust, grease and oil. Make sure surface is dried completely.
- Shake well. Spray 8″ to 12″ from surface, covering evenly. A test spray on a disposable object is recommended before applying to your project.
- Apply multiple coats to ensure all cracks and holes have been filled. Allow to cure in between coats and before water exposure. Full cure at 24 hours.
Pro Tips
After cure:
Test finished project with light water exposure to ensure all cracks have been filled. If the test fails, apply additional coats. Apply between 50° F and 120° F.
Painting:
Works with both latex and oil-based paints. When coating with oil-based paints, use a primer first before painting.
To avoid possible clogging:
Turn can away from body towards a disposable object, turn upside down and spray a short jet of clear gas after completing job.
Gorilla Waterproof Patch & Seal Liquid

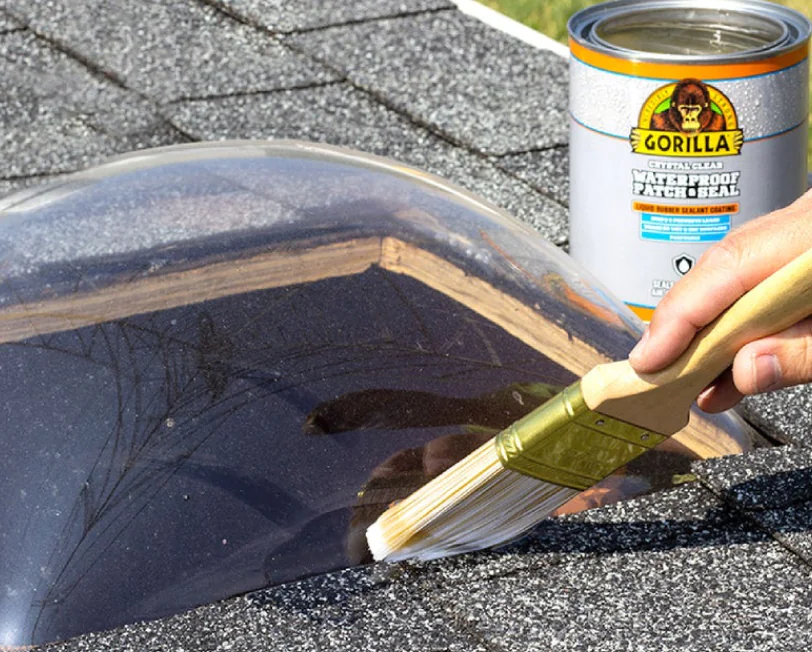
*Exposure to UV may cause material to yellow
Directions
- Clean surface of dirt, dust, grease and oil. Make sure surface is dried completely.
- Stir contents for 30 seconds until it is thoroughly mixed.
- Apply to surface by brush, roll, trowel, dip or pour. Ensure surface is completely covered.
- Apply multiple coats to ensure all cracks and holes have been filled. Allow to cure in between coats and before water exposure. Full cure at 24-48 hours.
Pro Tips
Test finished project with light water exposure to ensure all cracks have been filled. If test fails, apply additional coats. Do not use for gaps larger than 1/4″. Apply between 50°F and 120°F.
Cleanup:
Wipe up any unwanted material with a dry cloth or paper towel immediately. Use mineral spirits to clean applicators such as brushes and rollers.
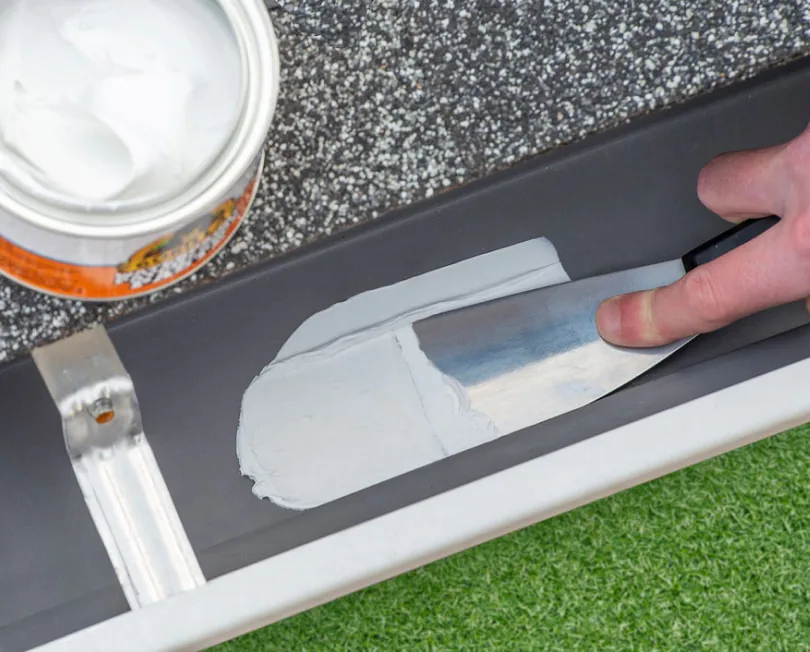
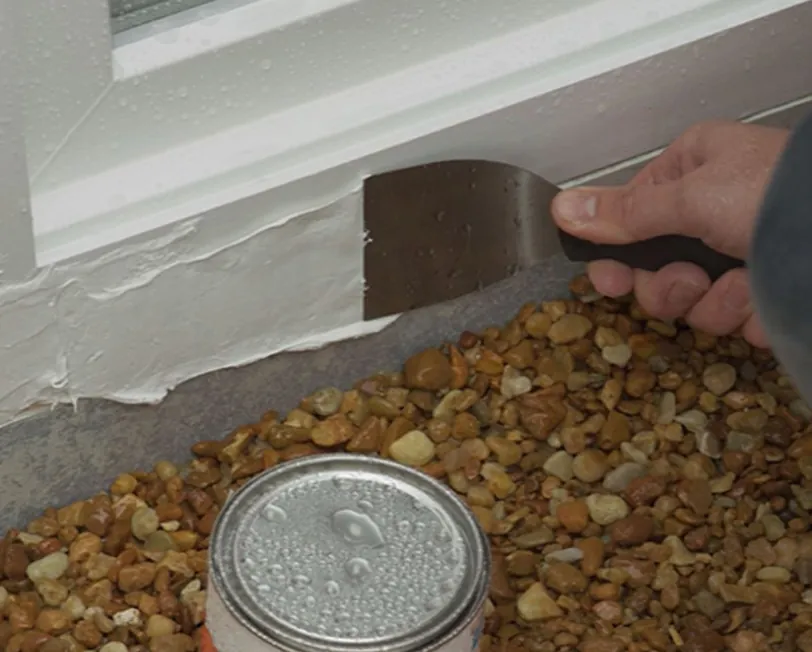
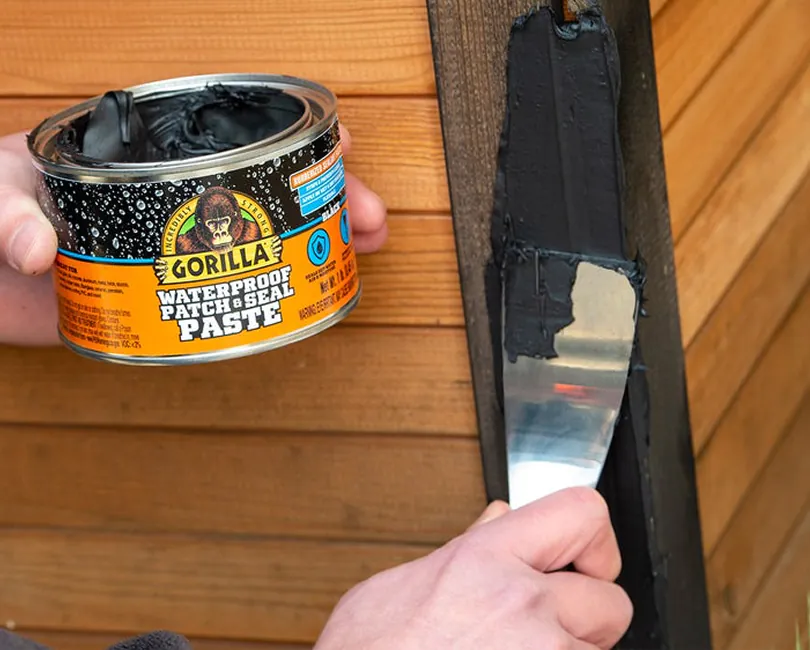
Gorilla Waterproof Patch & Seal Paste
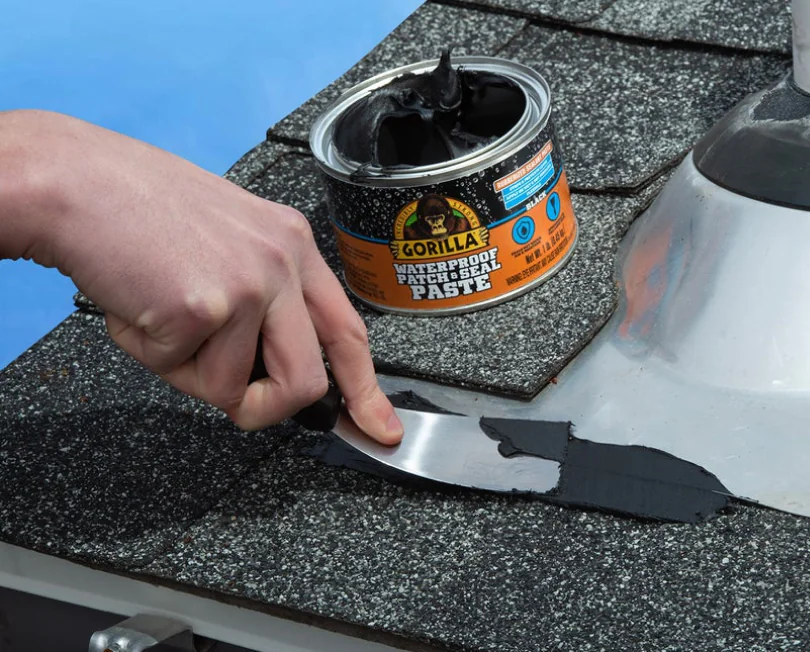
*Exposure to UV may cause material to yellow
Directions
1) Clean surface of dirt, dust, grease and oil.
2) Using putty knife or trowel, apply to the surface. Ensure surface is completely covered and all gaps and holes have been filled.
3) Allow to cure in between coats. Full cure at 24-48 hours*.
*In low humidity conditions, product may feel tacky up to 48 hours before full cure.
Pro Tips
Storage:
Remove excess product from the rim of can with a dry cloth. Press or lightly tap lid shut to create tight seal. Slight skinning may occur inside can if lid is not sealed tight. If present, remove skinned material to continue use and secure lid immediately after use.
Dry Time:
Paste begins to cure once exposed to air & moisture and will skin in 15 to 30 minutes. Full cure at 24-48 hours.
CLEANUP:
Wipe up any unwanted material with a dry cloth or paper towel immediately. Use mineral spirits to clean applicators such as putty knife or trowel.
Frequently Asked Questions
The best Gorilla product depends on the type of leak and surface. For quick patches on pools, gutters, and outdoor surfaces, Gorilla Waterproof Patch & Seal Tape creates an instant seal. For cracks and gaps on roofs, windows, and gutters, the Spray or Liquid formula coat larger areas with a flexible, rubberized layer. For vertical surfaces and seams where you need a thick filler that won't run, Gorilla Waterproof Patch & Seal Paste is the right choice.
Gorilla Waterproofing products work on plastic*, metal, aluminum, rubber*, concrete, wood, vinyl, glass, steel, acrylic, brick, and more.
*May not work for all types of plastics and rubbers
Each format is designed for a different type of repair. The Tape is a peel-and-stick patch for fast, targeted seals on pools, gutters, and outdoor materials. The Spray is a rubberized, self-leveling aerosol that coats irregular surfaces and small cracks evenly. The Liquid is a paintable, brush-on coating ideal for covering larger surface areas like roofs and skylights. The Paste is a thick, trowel-applied formula for filling gaps, seams, and vertical surfaces where a liquid would run.
Yes. All Gorilla Waterproof Patch & Seal products are designed for both indoor and outdoor use. They are UV resistant, though prolonged UV exposure may cause clear formulas to yellow or discolor over time.
Yes. Gorilla Waterproof Patch & Seal Spray and Liquid are both paintable. The Spray is compatible with both latex and oil-based paints; if using oil-based paint, apply a primer first. The Liquid can also be painted over once fully cured.
Gorilla Waterproof Patch & Seal Spray can be used on fountains but it is not recommended for continuous water submersion.
All four Gorilla Waterproofing formats work on gutters. For a pinhole or crack, the Tape provides an instant patch. For seam gaps or multiple small cracks, the Spray or Liquid coats the surface evenly. For larger gaps or vertical seam repairs, the Paste fills and seals without running. Clean the gutter surface completely before applying any product, and allow full cure before rain exposure.
Yes. The Tape, Spray, Liquid, and Paste are each available in Black, White, and Clear. Choose a color that matches your surface for a cleaner finish, or select Clear when you want the repair to remain as discreet as possible. Note that clear formulas may yellow with prolonged UV exposure.
To test a Gorilla Waterproofing repair, apply light water exposure after full cure. For the Spray and Liquid, if the test reveals any remaining gaps or seepage, apply additional coats and allow them to fully cure before re-testing. For Tape repairs, check that all edges are fully adhered with no lifting before exposing to water.